Making Tileable Displacement in ZBrush
In this tutorial I would like to show you how easly and quickly create tileable displacement in ZBrush.
It is very simple and very fast method. After creation you can use this map in any software you wish – which of course has ability to use displacement or height maps. For example, I used it to create basic shapes for Substance Designer, like tree branches, roots, rocks, and included them in materials I made.
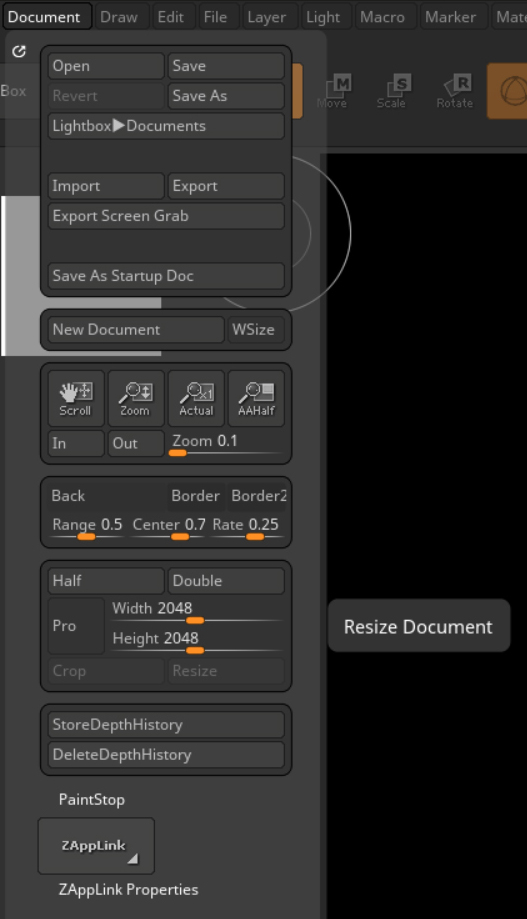
At the begining you need to setup your Document Resolution to correspond with your desired resolution. I used 2048 by 2048. Just go to the Document panel and uncheck “Pro”. Type 2048 by 2048 and click “Resize”.
Then when your document has 1:1 aspect ratio, create basic 2D Plane and Make PolyMesh 3D.
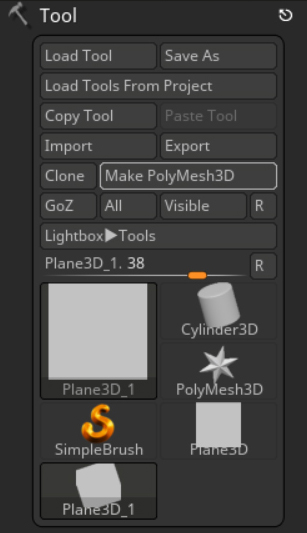
Go to Subtool and Duplicate the Plane. Move it a little bit to the front and increase its size to be bigger than plane in the back.
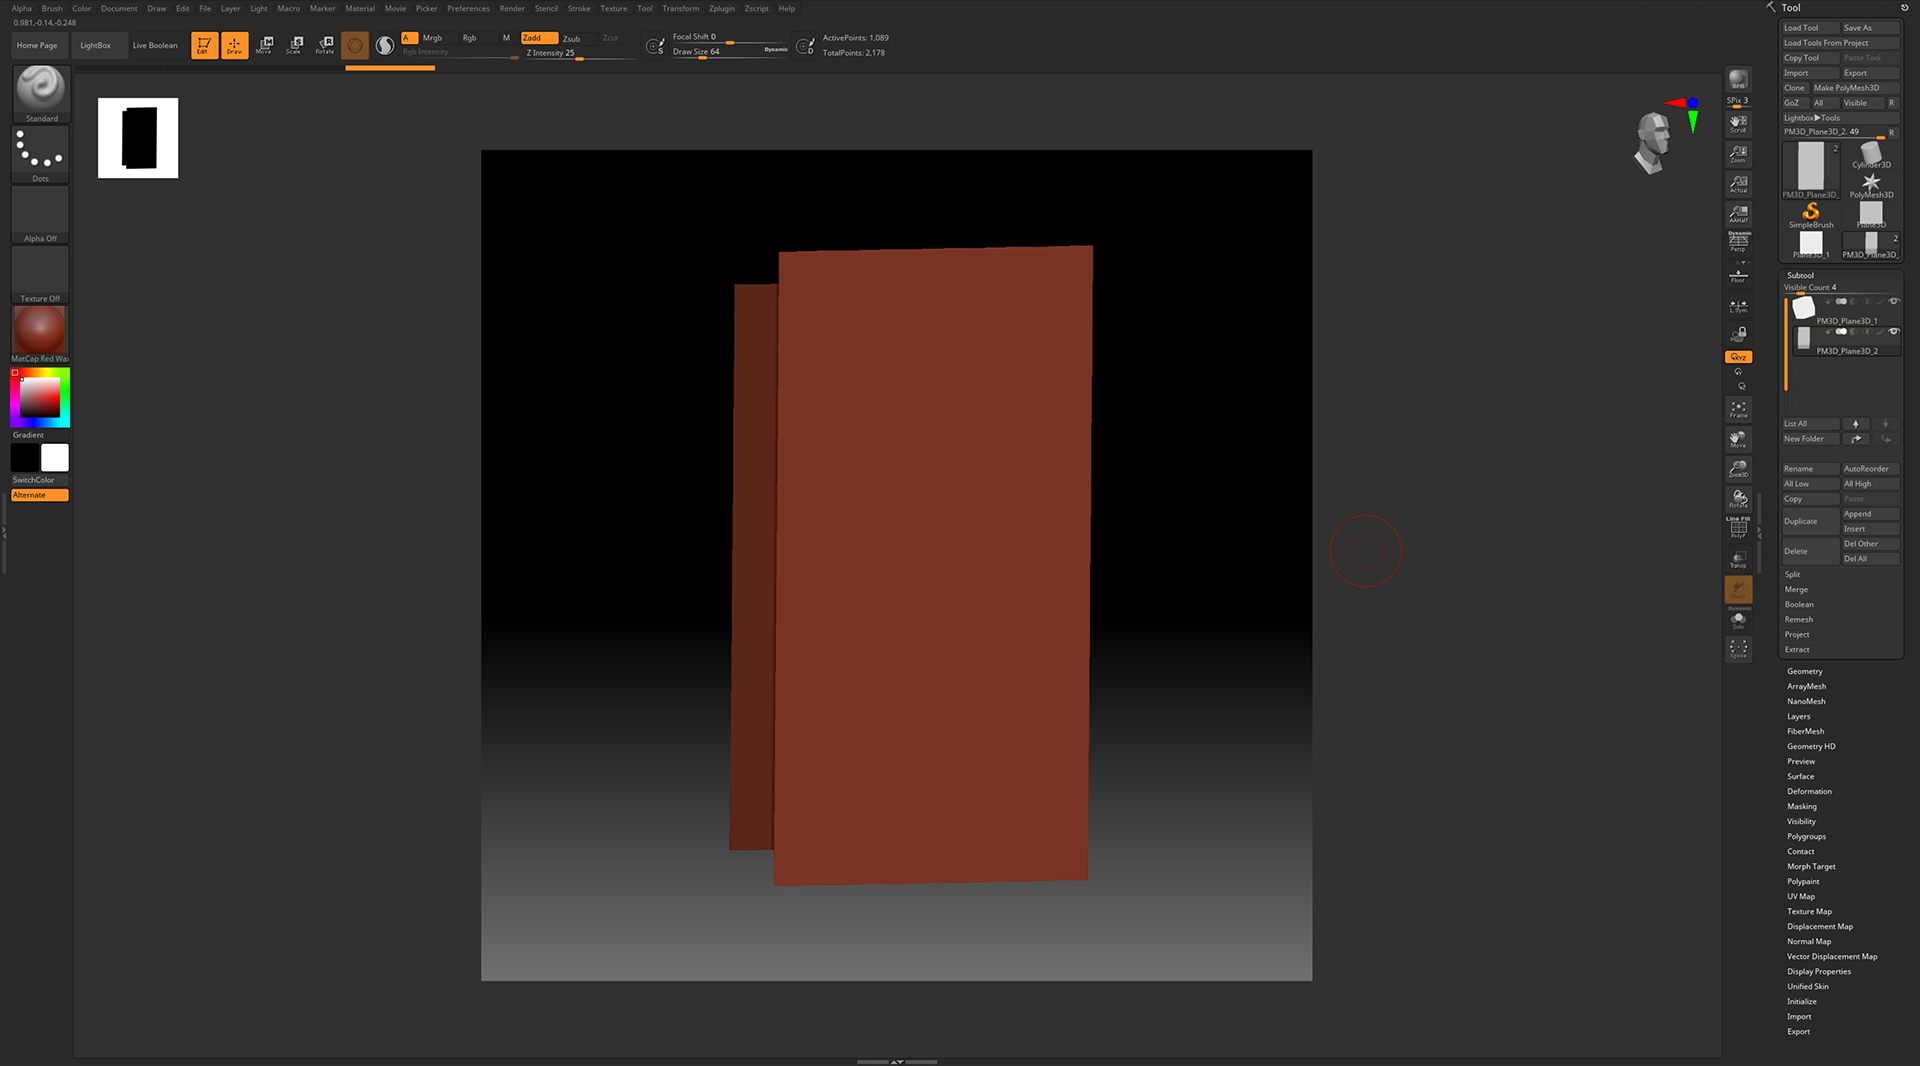
In the Subtool select the smaller Plane and rotate view that the plane are facing the camera. Then “Frame” the view to fit the smaller frame – you can just simply press “F”.
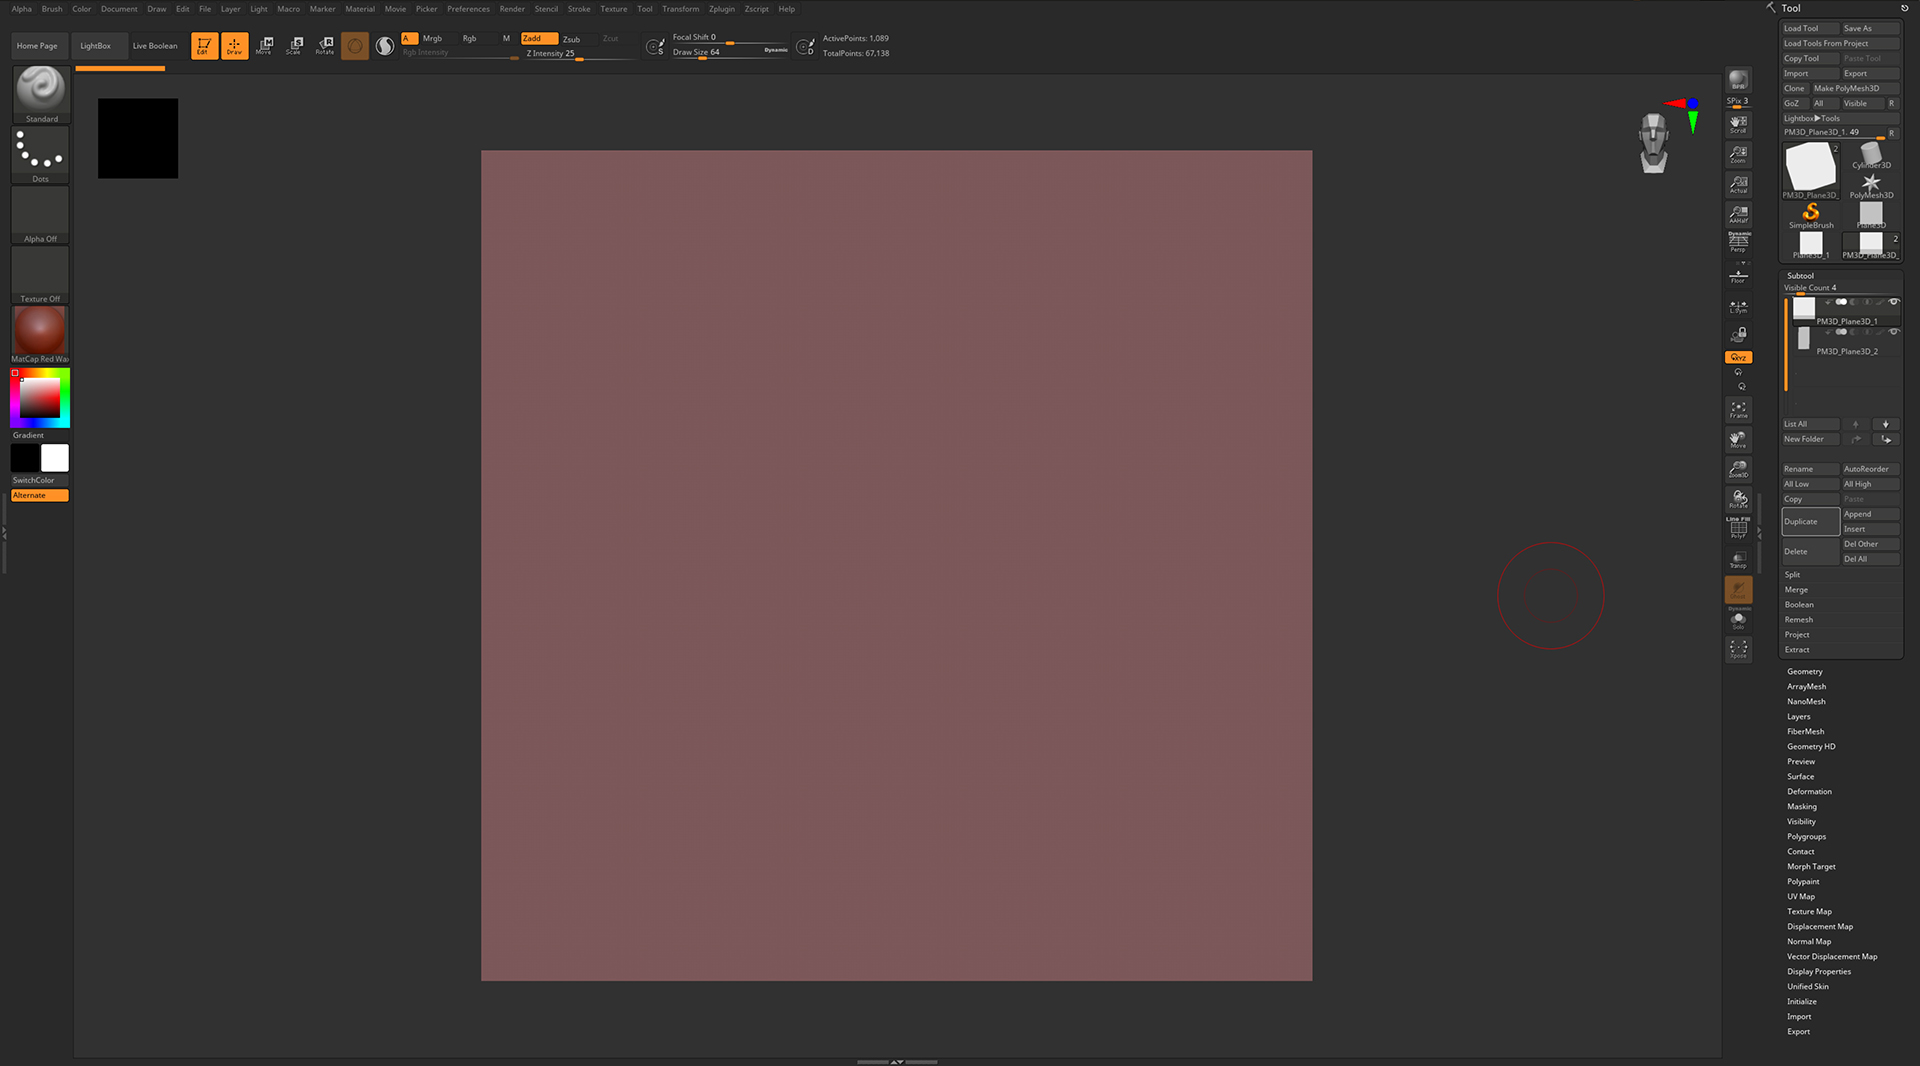
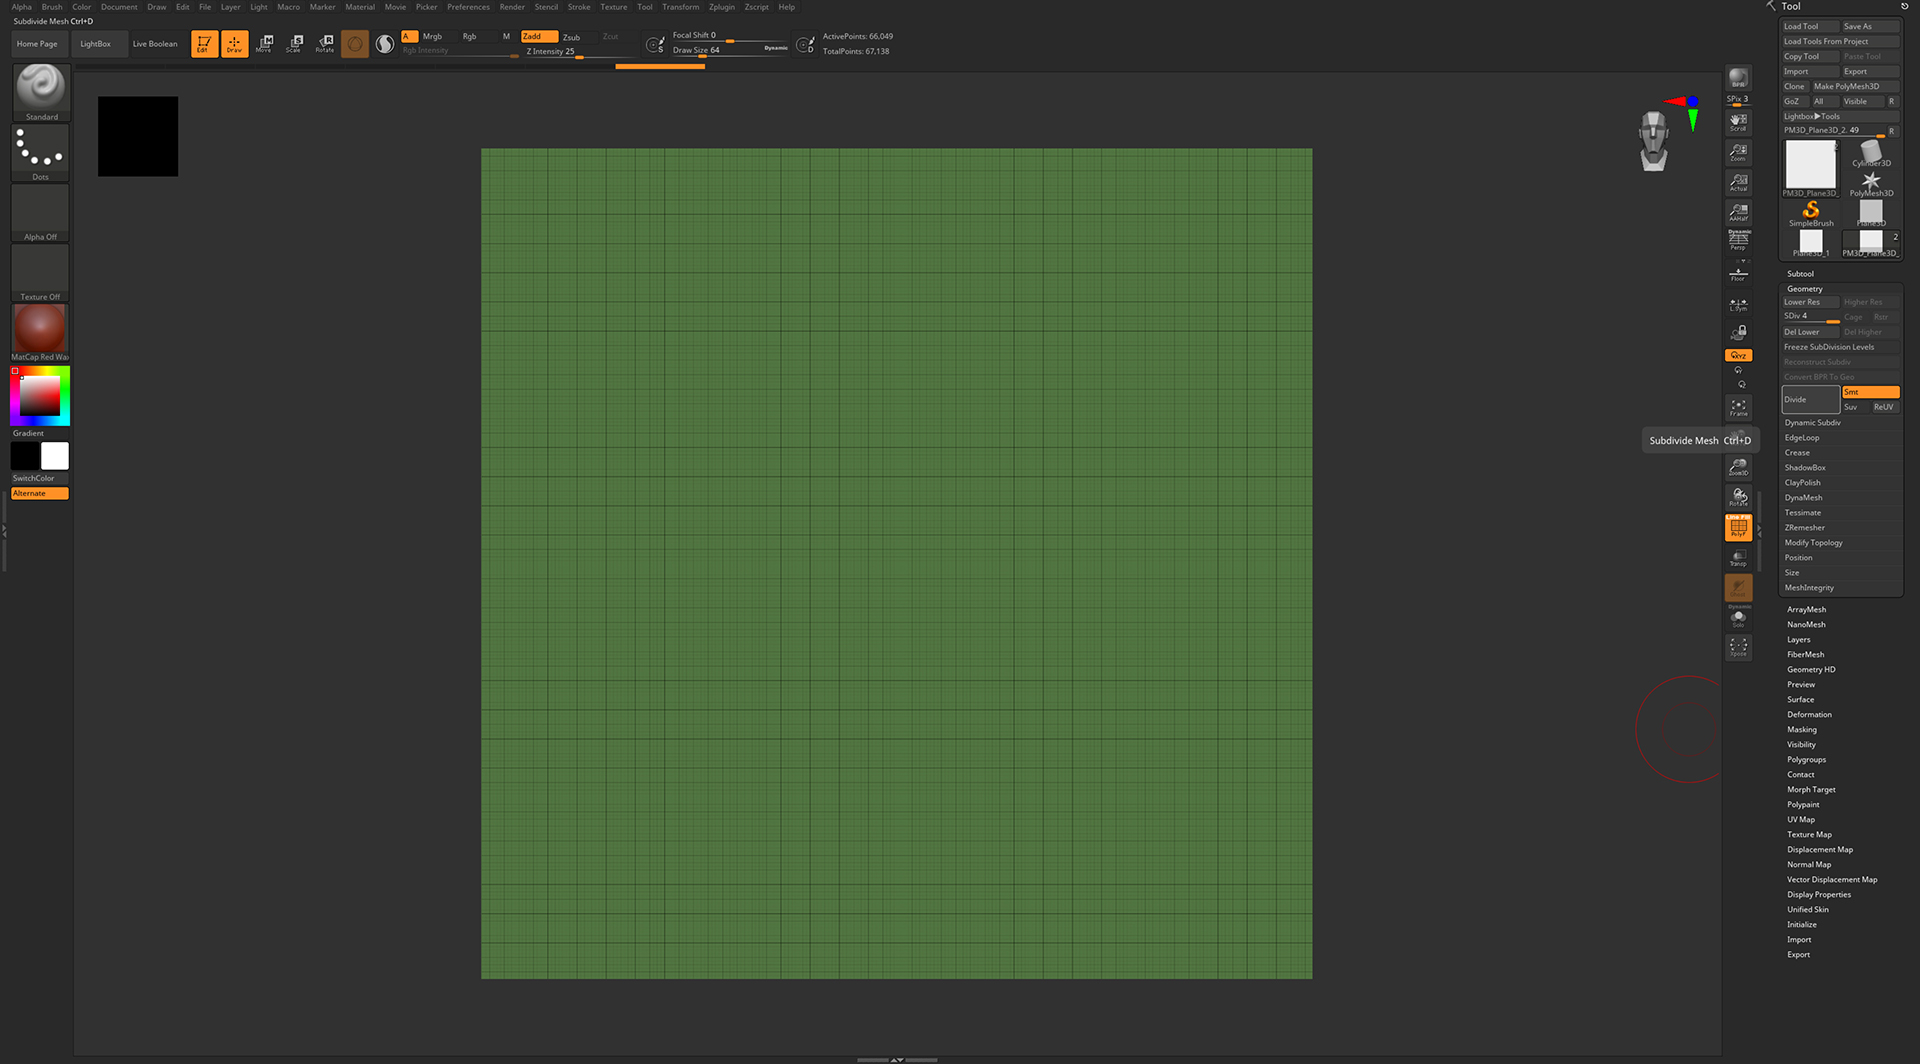
Select now the larger plane – some part of it should now be “outside” the document. It is important because it will allow you to have clean and smooth transition when you place your map side by side. Then add some more polygons to the larger plane by clicking “Divide” in Geometry panel.
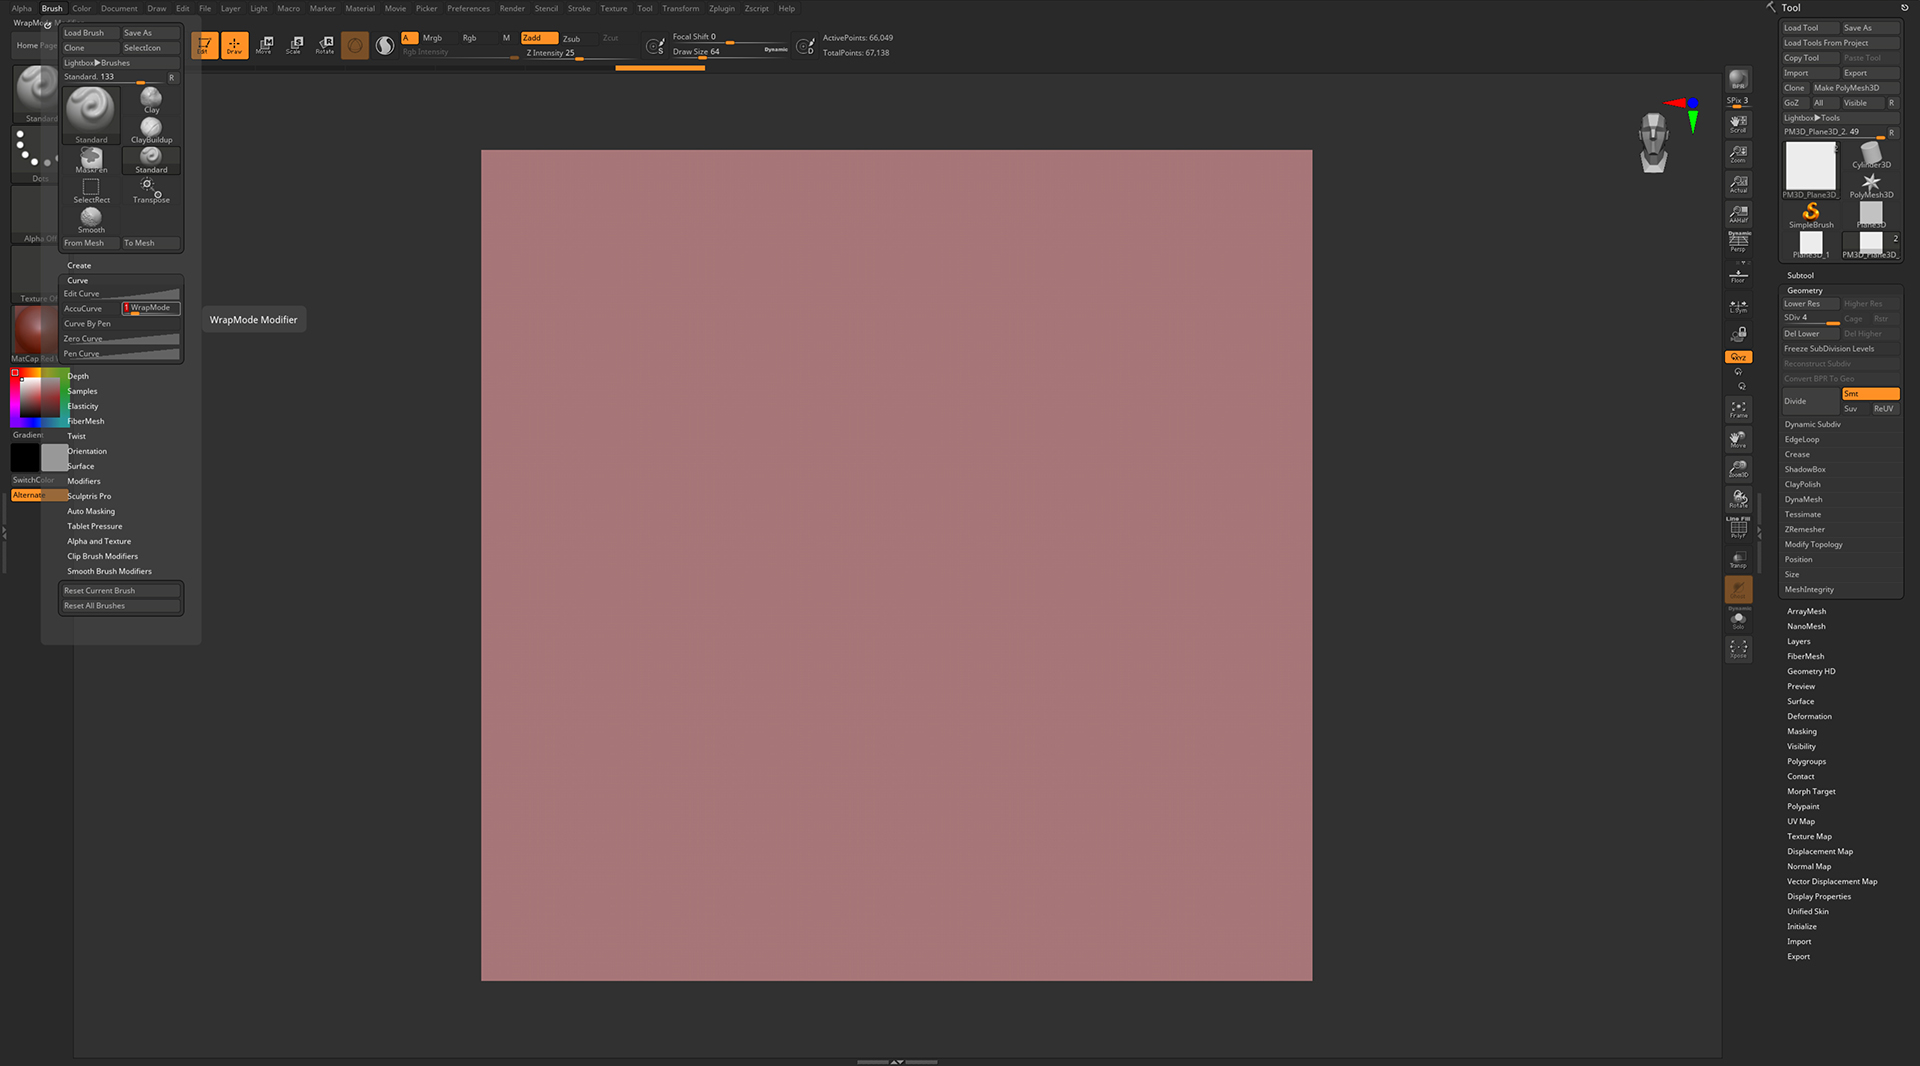
Select the tool you wish to use – Standard Brush, Clay Buildup, or anything you wish. Go to the Brush panel, Open Curve and set WrapMode to 1. You can now start to sculpt your texture, as if you always do. As you can see if you get too far to the edge, the brush start sculpting on the opposite side.
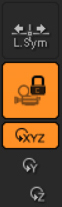
You can also click Camera Lock to prevents accidental Camera Rotations.
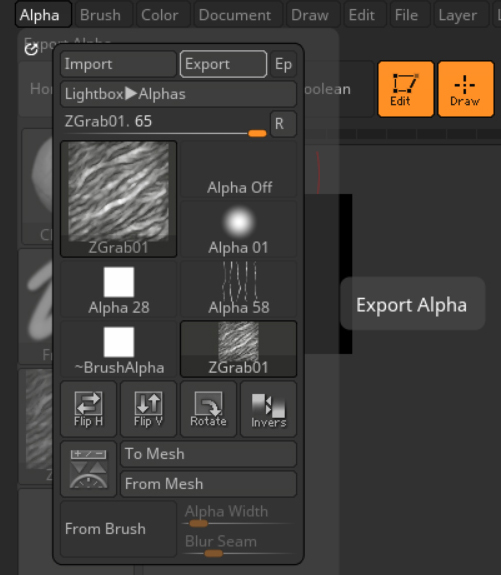
Now if your texture is finished, go to the Alpha and in Transfer click GrabDoc. Your sculpted surface will be now transfered to the alpha with standard displacement values – white is higher, and black is lower.
Only thing left to do is now to export created alpha map and use in as displacement in other sotfware. Just go to the Alpha panel and click Export.
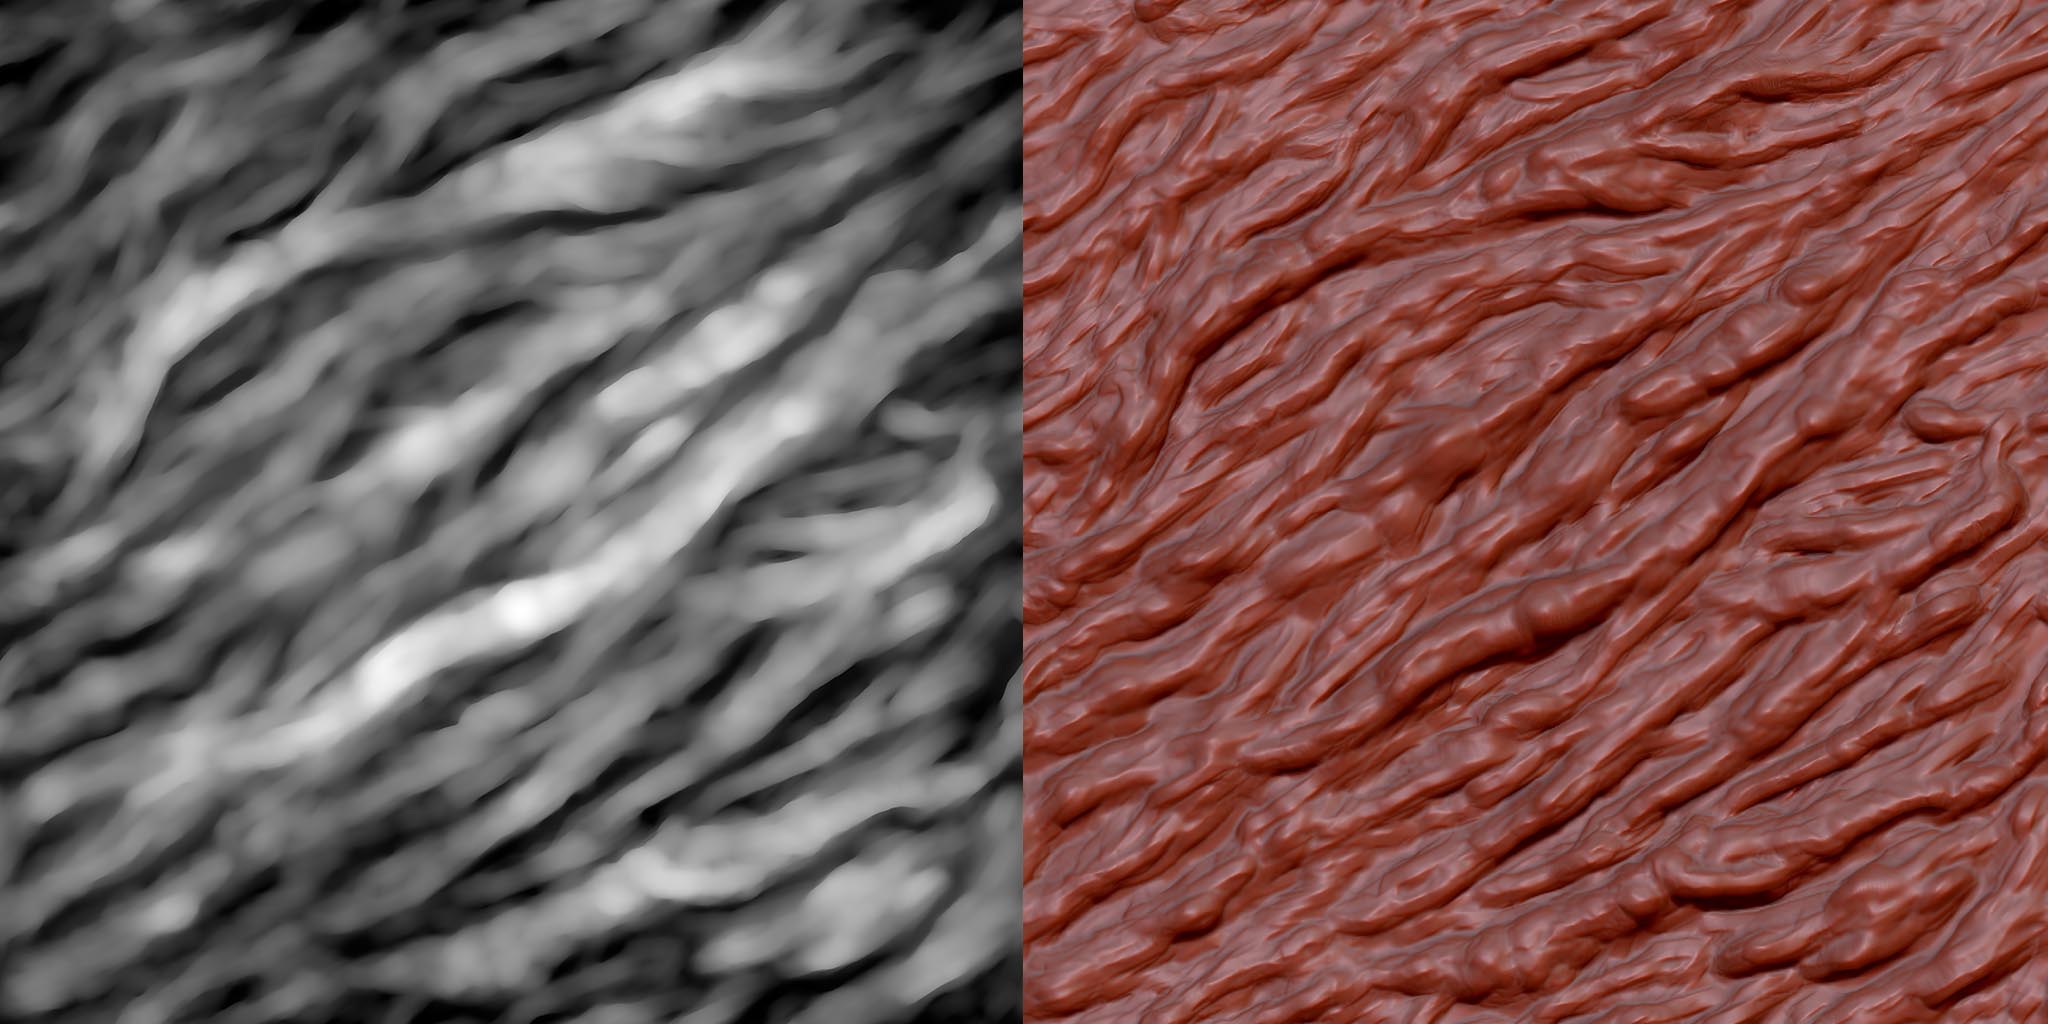
Below you can see the result and the comprasion betwen the sculpted object and the tileable displacement in zbrush made from it.
Tips for 3ds max Beginner Users
Tips for 3ds Max beginner users. Topology Optimization: Learn to create models with optimal topology, ensuring a minimal number of triangles and proper vertex distribution. Optimizing the topology of a model is crucial to achieve[...]

New Tools in Unreal Engine 5
Epic Games is making improvements to modeling in the new Unreal Engine 5. Thanks to the addition of a new technology called Nanite, it will be possible to enter data from Quixel and Reality Capture,[...]

USD for 3ds max
Autodesk recently announced that the USD beta plug-in beta for 3ds max 2022 will be publicly available. Users who are creating virtual reality projects for iOS on iOS will be pleased with this news. This[...]

Nuke 13
Nuke is one of the best video post-production tools out there and recently there was new version released. This software was used in the production of the greatest blockbusters. It is an ideal composition tool[...]

Sculptron 1.0
Sculptron is a GPU based software for sculpting and animation. Sculptron's main goal is not to compete with digital sculpting applications such as ZBrush. It is tasked with scupt animated meshes. It introduces many new[...]

Terrain Plugin
Terrain Plugin is a tool for 3ds max that allows you to generate landscapes inside this program. Recently a new version has been released. With Terrain Plugin for 3ds max, you can generate landscapes by[...]